A Mac notch app for developers and shipped projects
Use MakerNotch to check project status at the top of your Mac screen. Explore its developer workflow, supported integrations and behaviour without a notch.
Last updated:
Home / MakerNotch guides
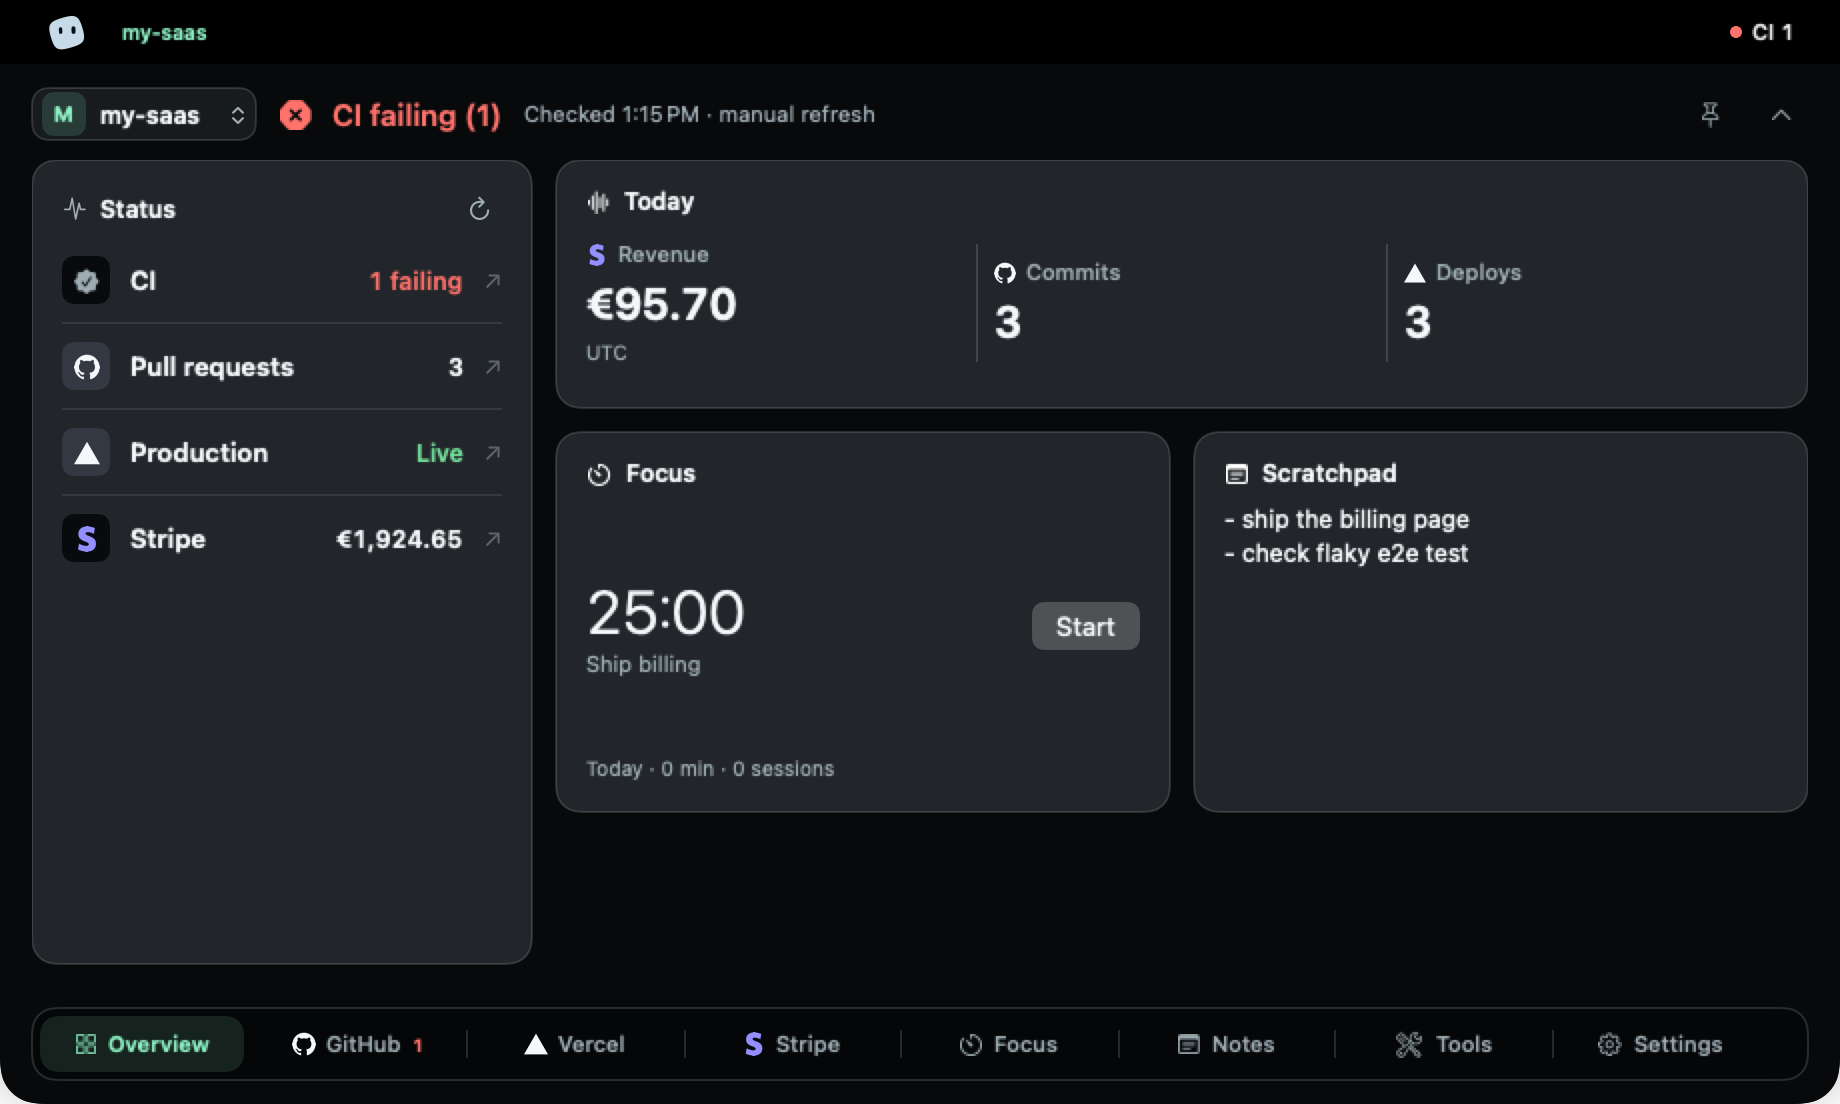
Put project checks within reach
The top edge of a Mac screen is a useful place for a compact status panel. MakerNotch uses that space for the products you maintain: code, deployments, payments and other connected services. You can open the panel for a check and return to your work without keeping a full dashboard in the foreground.
The point of the notch interface is convenient access. The value depends on what you connect and how often you need those signals. If you only need detailed provider reports once a month, a browser bookmark may already be enough.
What a developer can check
GitHub provides open pull requests and recent CI runs. Vercel provides recent deployments and environment filters. Other available connections include GitLab, Stripe, Linear, DataFast, Sentry, Supabase and Resend. Their views serve different purposes; they are not interchangeable measures of overall application health.
For example, a passing CI run answers a code workflow question, a successful deployment answers a delivery question, and an error count raises an investigation question. MakerNotch brings these checks into the selected project’s context. Open the original tool for the deeper action.
How the panel fits your Mac
On a Mac with a notch, the panel occupies the top area around the camera cutout and expands to show its content. It is not a change to the physical notch. On a Mac without one, MakerNotch uses a panel at the top of the screen instead.
Appearance and opening behaviour can be adjusted in settings. Start by choosing whether you prefer opening through hover or using a click, then check that the panel feels comfortable alongside your usual applications.
A first-session checklist
- Install MakerNotch on macOS 14 or later and activate your licence.
- Create or select a project with a name you recognise immediately.
- Connect one service and verify the returned data before adding more.
- Choose your opening behaviour and decide whether to enable automatic refresh.
- Explore notes and the focus timer when you want supporting tools beside the project view.
Credentials and practical limits
Connection credentials are kept in the Mac Keychain. Provider permissions, network availability and rate limits still govern what the app can retrieve. Periodic refreshes are not a guarantee of immediate alerts, and the app is not a replacement for an uptime monitoring service.
One licence supports one simultaneous Mac and can be released for use on another. Apple silicon and Intel Macs are supported. Follow the installation guide below for the download and activation steps.